


Why you’ll love these dairy free cinnamon rolls
I’m not sure why, but cinnamon rolls have always felt like such an indulgent treat to me – especially good ones. These are my go-to dairy free version, and even though we normally save them for specially occasions, such as Christmas morning or when we have friends visiting, they’re actually incredibly easy to make.
I’ve topped with with a dairy free cream cheese glaze, and the filling is packed with sweet brown sugar and cinnamon – creating the perfect balance between sweet and spice. And, when you put the glaze on while they’re still warm, it seeps through the rolls creating an extra gooey experience that is always impressive.
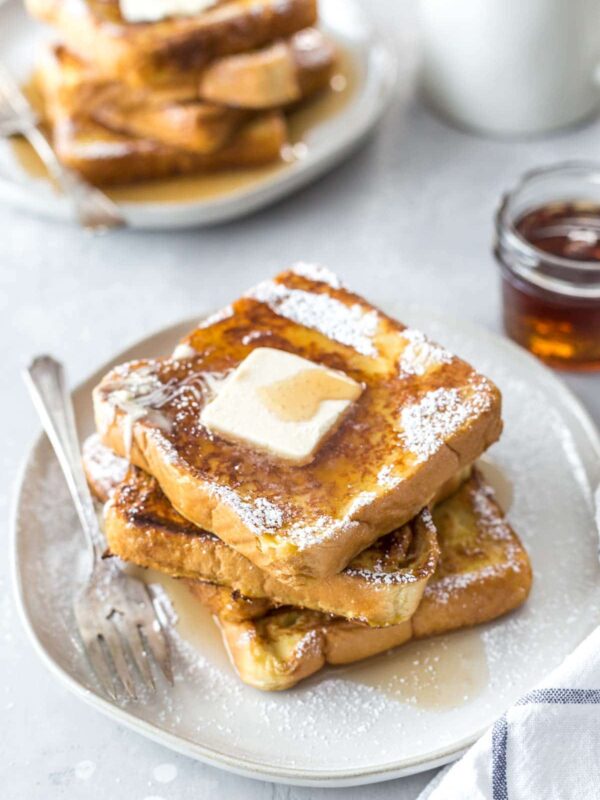
More dairy free breakfast recipes: pumpkin cream cheese muffins / million dollar bacon / dairy free french toast / asparagus quiche


Ingredient notes:
- Instant yeast – Make sure you’re using instant or quick rise yeast for this recipe. Traditional active dry yeast will not work.
- All purpose flour – I have only tried this recipe with all-purpose flour and I don’t recommend making changes to this ingredient. I also highly recommend measuring your flour with a kitchen scale for accuracy.
- Dairy free butter – We like to use Earth Balance buttery sticks, but any bread of dairy free butter should work. You can also substitute a neutral flavored oil. I don’t recommend olive oil for this recipe because the flavor is too strong.
- Brown sugar – Dark brown is my favorite year but you can use light brown. I don’t recommend using other types of sugar.
- Dairy free milk – Any unsweetened, plain milk will work. I normally use oat or flax milk for baking to keep things nut free, but almond or cashew will work great, too.
- Vegan cream cheese – We like Violife and Daiya brands the best. Each brand has different sized containers, but I don’t believe the variation will make too big of an impact on the recipes. If you’re not sure, weigh the ingredients with a scale.
Making changes to a recipe can result in recipe failure. Any substitutions listed below are simple changes that I believe will work in this recipe, but results are not guaranteed.


Melissa’s tips + tricks:
- Make sure your liquid (the melted butter/milk mixture) isn’t too hot, or you’ll kill the yeast. I really recommend using a thermometer to double check that it’s the right temperature before adding it to your flour and yeast.
- Use dental floss (not mint!) for clean, even cinnamon roll slices. It might seem weird but it works really well. Otherwise, I recommend using a serrated edge knife.
- Make ahead cinnamon rolls. The second rise in this recipe can happen in the fridge overnight so you can bake them in the morning. Let them come to room temp while the oven is preheating. You may find that you need to add a few minutes to your overall bake time.
- Rolls can be kept for up to 4 days. Make sure they’re covered and refrigerated to keep them food safe. If you want to reheat, 30 seconds intervals in microwave should do the trick.



Dairy Free Cinnamon Rolls
Ingredients
For the dough:
- 4 3/4 cups all-purpose flour, 570g
- 2 packages instant yeast
- 1/2 teaspoon kosher salt
- 1/4 cup dairy free butter
- 1 1/4 cup unsweetened dairy free milk
- 1/4 cup brown sugar
- 1 egg + 2 egg yolks
For the filling:
- 2 tablespoons dairy free butter
- 1 cup dark brown sugar
- 2 tablespoons cinnamon
Frosting:
- 1/2 container Violife dairy free cream cheese
- 2 tablespoons unsweetened, dairy free milk
- 1 teaspoon vanilla extract
- 3 1/2 – 4 cups powdered sugar
Instructions
- Mix the dry ingredients. Combine the flour, yeast and salt the the bowl of an electric mixer fitted with a dough hook.
- Warm the wet ingredients. In a small saucepan, combine the butter, milk and brown sugar. Heat over low until the butter has melted. Remove from heat and make sure the temperature of the liquid is between 110˚F – 120˚F. If needed, let the mixture cool.
- Knead the dough. Stir the warm liquid into the flour mixture, followed by the eggs and mix at a low speed. Once the dough comes together, increase the speed to medium and continue to knead the dough until it is smooth an elastic – about 5 minutes.
- Proof the dough. Transfer the dough into a greased mixing bowl and cover with plastic wrap or a clean dish towel. Allow the dough to rise in a warm space until it has doubled in size – about 30-40 minutes.
- Make the filling. Melt the remaining dairy free butter in the microwave (about 30 seconds). Then, mix the cinnamon, brown sugar and melted butter in a mixing bowl until evenly combined.
- Shape the rolls. Working on a floured surface, roll the dough to a rectangle approximately # x # inches. Spread the filling in an even layer over the dough and roll lengthwise to form a long roll. Use dental floss or a serrated knife to gently cut the dough into 12 individual rolls.
- Second proof. Grease a large baking dish (9×13"). Transfer to your prepared baking dish and cover again. Allow the rolls to rise a second time for about 20-30 minutes or until the rolls has filled in the pan.
- Bake the cinnamon rolls. While the rolls rise, preheat your oven to 350˚F. Bake the cinnamon rolls for 20 – 25 minutes, or until the rolls are golden brown on top and the center is fully cooked – if you're not sure, the internal temperature should reach about 190˚F for doneness. Remove the cinnamon rolls from the oven and allow them to cool for about 5 – 10 minutes before frosting.
- Make the glaze. Add the dairy free cream cheese to a large mixing bowl. Microwave for about 30 seconds to soften/melt the cream cheese. Stir until smooth. Then, whisk in the dairy free milk and vanilla extract. Then, whisk the powdered sugar into the mixture, one cup at a time, until you reach your desired consistency. The glaze should be thick but still pourable.
- Frost the cinnamon rolls. While the rolls are still warm, pour the glaze over the cinnamon rolls and spread the glaze as needed with a rubber spatula.
Nutrition
Nutrition information is automatically calculated, so should only be used as an approximation.
Like this? Leave a comment below!






The recipe doesn’t show how big to spread the dough before filling. What dimensions should we be going for?
You will want it to be about 12×18 inches, but it doesn’t have to be perfect either.