
Why you’ll love this dairy free vanilla cake
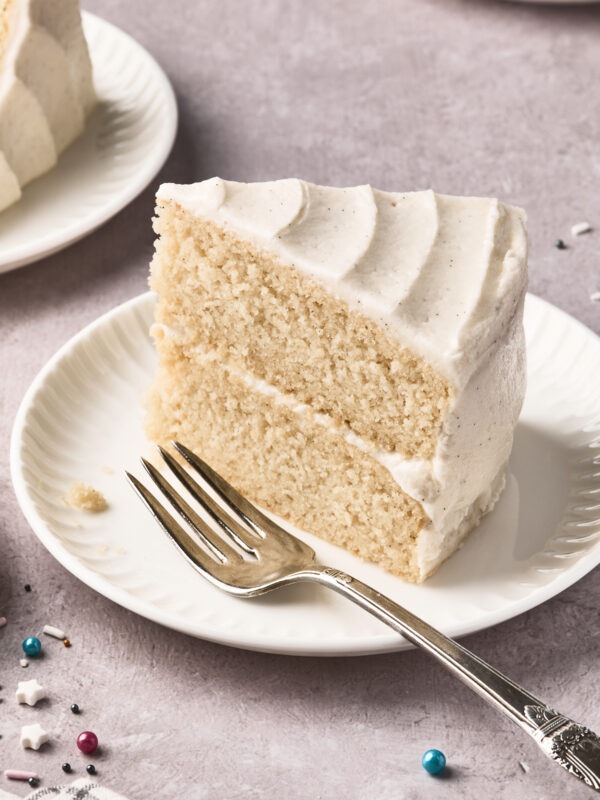
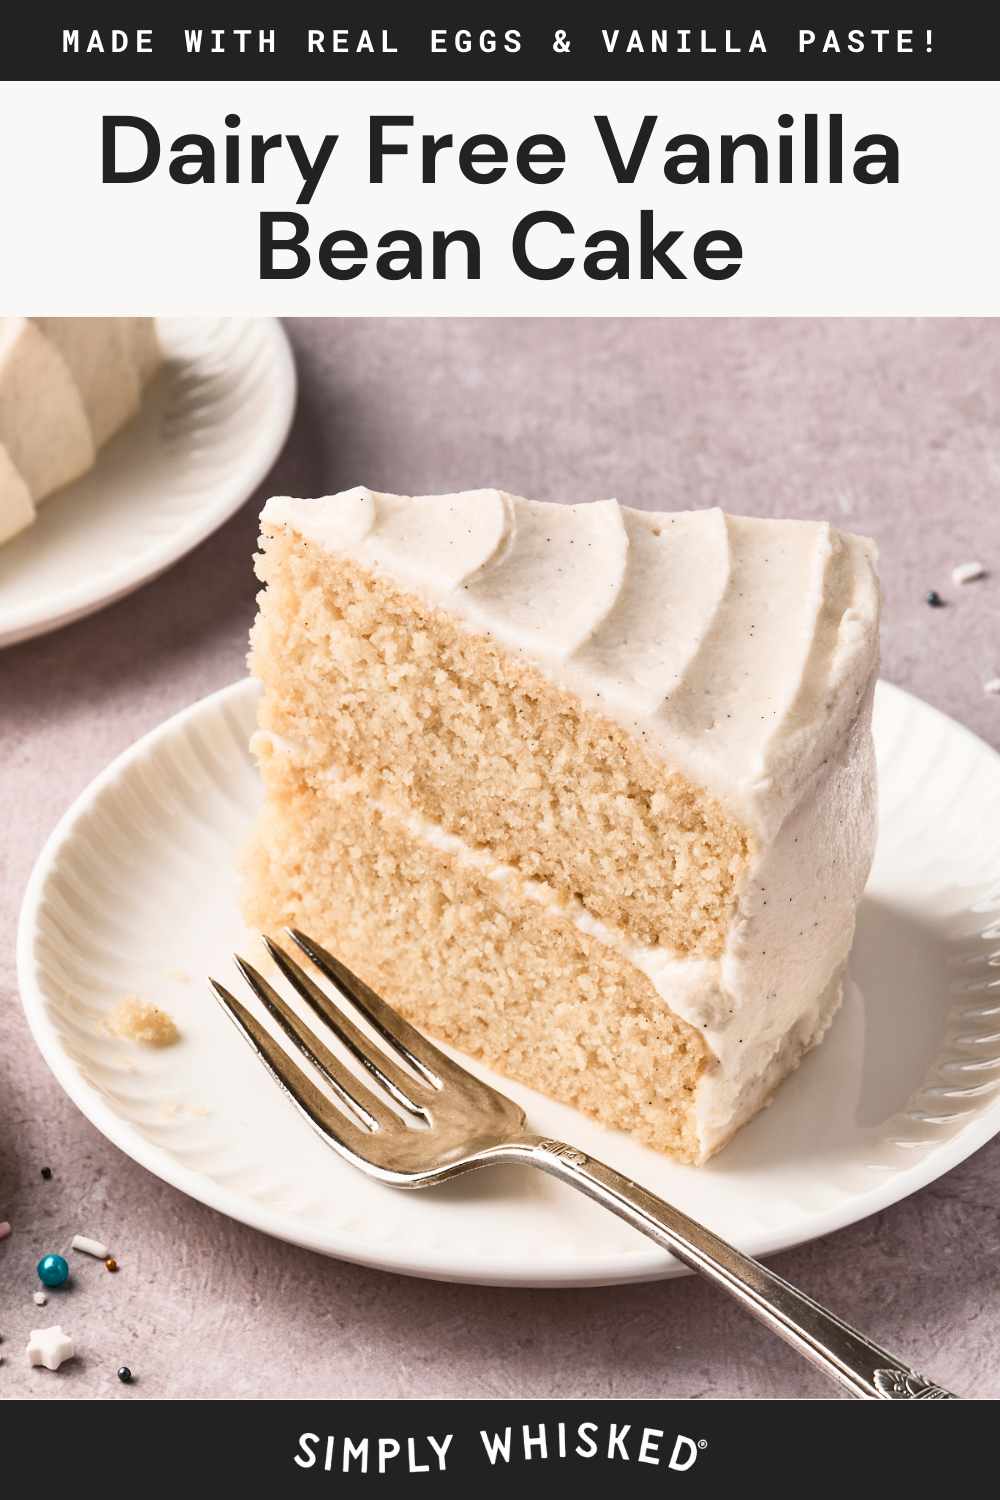
Not all vanilla cakes are meant to be boring, and this one is anything but. We’re basically making a classic white cake – made with real egg whites for a light, fluffy texture – and adding the flavor of real vanilla beans to the mix to get the ultimate flavor. You even get those gorgeous flecks of vanilla bean paste scattered throughout the batter and the frosting.
Something about this cake feels so effortlessly elegant to me, and because of that, I like to keep my decorating minimal – no fancy piping, just a simple layer of the frosting. It’s just a vanilla cake, but it’s a cool vanilla cake.
More dairy free cake recipes: dairy free chocolate cake / lemon poppy seed bundt cake / olive oil pumpkin cake / peanut butter and jelly cake

Ingredient notes:
- Dairy free milk – Any unsweetened, plain dairy free milk will work here. I’ve tested this with almond milk, oat milk, and flaxmilk, and they all produce a great result.
- Dairy free butter – I use Earth Balance Vegan Buttery Sticks for baking. They’re really allergy-friendly, and they bake really well. But, you can use any brand of dairy free butter you like.
- Vegetable shortening – You can swap in additional dairy free butter, but shortening gives the frosting a better texture and holds its shape much better when piped. I also think it allows the flavor of the vanilla to shine a little more.
- Egg whites – This cake uses egg whites only, which is what gives the cake its beautiful white color. I haven’t tested this with egg alternatives, so I can’t guarantee results with substitutions.
- Vanilla bean paste – Vanilla bean paste (affiliate link) creates a more intense, floral vanilla flavor than typical vanilla extract and adds those gorgeous little vanilla specks throughout the batter and frosting. If you can’t find it, you can use equal parts vanilla extract.
Making changes to a recipe can result in recipe failure. Any substitutions listed below are simple changes that I believe will work in this recipe, but results are not guaranteed.


Melissa’s tips + tricks:
- Use room temperature ingredients. Room temperature butter and milk are essential for a smooth batter, but keep in mind that dairy free butter softens faster than regular butter so you only need to pull it from the fridge when you start preheating the oven.
- Grease your pans the easy way – I like to use cooking spray to grease my pans before flouring them. I think it’s easier than using shortening or butter, and you get a nice thin coat of oil.
- Use a kitchen scale! If you want your cake to turn out, I recommend measuring by weight rather than volume. It can make a huge difference in the overall outcome of your baking recipes. Plus, you can use the scale to divide the batter equally between your two pans to help your layers bake evenly.
- Don’t rush the cooling. The cake layers need to be completely cool before you frost them. Otherwise, your frosting will potentially melt and/or slide around on the cake.

Frequently asked questions
The egg yolks contain fat and pigment that would give the cake a yellow tint and a denser crumb. Using only whites keeps the cake light in both color and texture — that’s what makes it a true white cake.
You can use two 9-inch pans — the layers will be slightly thinner and the bake time will be a few minutes shorter. I haven’t tested this in a 9×13 pan, so I can’t guarantee results with that size but it should work.
The cake is done when the center no longer jiggles when you gently shake the pan, and a toothpick inserted into the center comes out clean. Baking time is typically 35 to 45 minutes, but ovens vary, so start checking around 35 minutes.
Yes! Bake the layers up to 2 days ahead and store them wrapped at room temperature, or freeze them for up to a month. The frosting can be made ahead of time, too. Just assemble when you’re ready. I typically don’t like to assemble any more than 1 day in advance to make sure the cake is as fresh as possible.
Cover the frosted cake and store it at room temperature for up to 2 days, or in the refrigerator for up to 5 days. Let refrigerated slices come to room temperature before serving for optimal texture and flavor.
More dairy free desserts: dairy free dirt cups / dairy free cheesecake / dairy free birthday cake / dairy free lemon bars

Dairy Free Vanilla Cake
Ingredients
For the cake:
- 3 cups all-purpose flour, 360g
- 3 tablespoons cornstarch
- 2 1/2 teaspoons baking powder
- 1/2 teaspoon coarse salt*
- 1 cup dairy free butter, 2 sticks, room temperature
- 2 cups sugar, 420g
- 6 large egg whites, 180g, room temperature
- 1 1/4 cups unsweetened dairy free milk, room temperature
- 3 teaspoons vanilla bean paste
For the frosting:
- 1/2 cup dairy free butter, 1 stick, room temperature
- 1/2 cup vegetable shortening
- 5 cups powdered sugar
- 2-4 tablespoons unsweetened dairy free milk
- 1 teaspoon vanilla bean paste
- 1 pinch coarse salt*
Instructions
- Mise en place. Preheat your oven to 350˚F. Grease and flour two 8-inch cake pans. Then, gather your ingredients and measure them out before starting.
- Make the batter. In a mixing bowl, whisk the flour, cornstarch, baking powder and salt together until combined. Set the bowl aside for later.
- Then, add the butter to the bowl of an electric mixer and beat until light and fluffy. Then add the sugar and continue to beat until fully creamed and lighter in color – about 1 minute. Then, add the egg whites, one at a time, and beating to incorporate between each addition.
- Next, alternate between adding some of the milk, vanilla bean paste and some of the flour mixture, beating each addition until it’s incorporated, being careful not to over mix. Scrape the sides as needed and continue to beat until the batter is smooth.
- Bake the cakes. Divide the batter between your prepared pans and bake the cake layers for about 35 – 45 minutes. The cake is done when the center no longer wobbles and an inserted toothpick comes out clean. Remove them from the oven and allow them to cool for about 10 minutes before carefully flipping them onto a cooling rack.
- Make the frosting. With an electric mixer, beat the dairy free butter and shortening until combined. Then add 1 tablespoon of milk, the vanilla bean paste, a pinch of salt (if using). Then, mix in powdered sugar – in 3/4 cup increments – until incorporated. As you add sugar, you will need to add more dairy free milk to help mix and to get to your desired thickness. I generally add about 3 – 4 tablespoons total.
- Assemble your cake. When the cake has completely cooled, spread a thin layer of frosting on top of one layer, then add the next layer. Use the rest of the frosting to cover the cake. If you have extra frosting, it can be used for piping or discarded.
Notes
Nutrition
Nutrition information is automatically calculated, so should only be used as an approximation.
Like this? Leave a comment below!


I just want to say thank you for what you do!! My teenage daughter is anaphylactic to all forms of dairy and your recipes are delicious, inspiring and help my daughter feel “included” rather than excluded due to her allergies. My gratitude is immense. Be well and a heartfelt thanks!!
xoxo
Thank you so much! That’s such a nice thing to say and I’m so happy to be able to help her!