
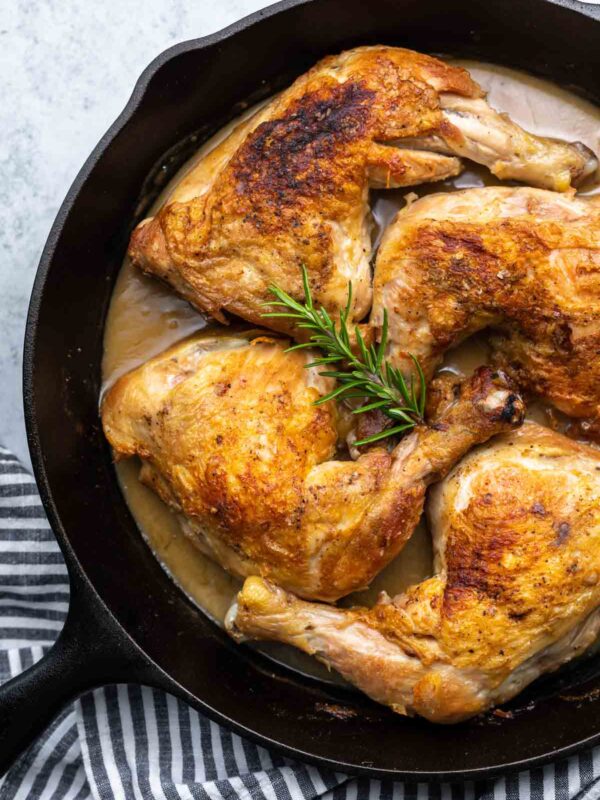

Why I love this baked chicken legs recipe
I have a love-hate relationship with chicken. Mostly because I’ve had one too many overcooked pieces of chicken breast to count. Thankfully, I’ve found the absolute best way to cook chicken.
Hands down. I mean, this recipe barely even has ingredients, so the chicken really holds its own here. The dark meat has so much flavor, and if you cook it well, it’s delicious.
More chicken recipes: Buffalo chicken meatballs / Tequila lime chicken / Grilled chicken drumsticks / Ground chicken tacos / Slow cooker peanut chicken
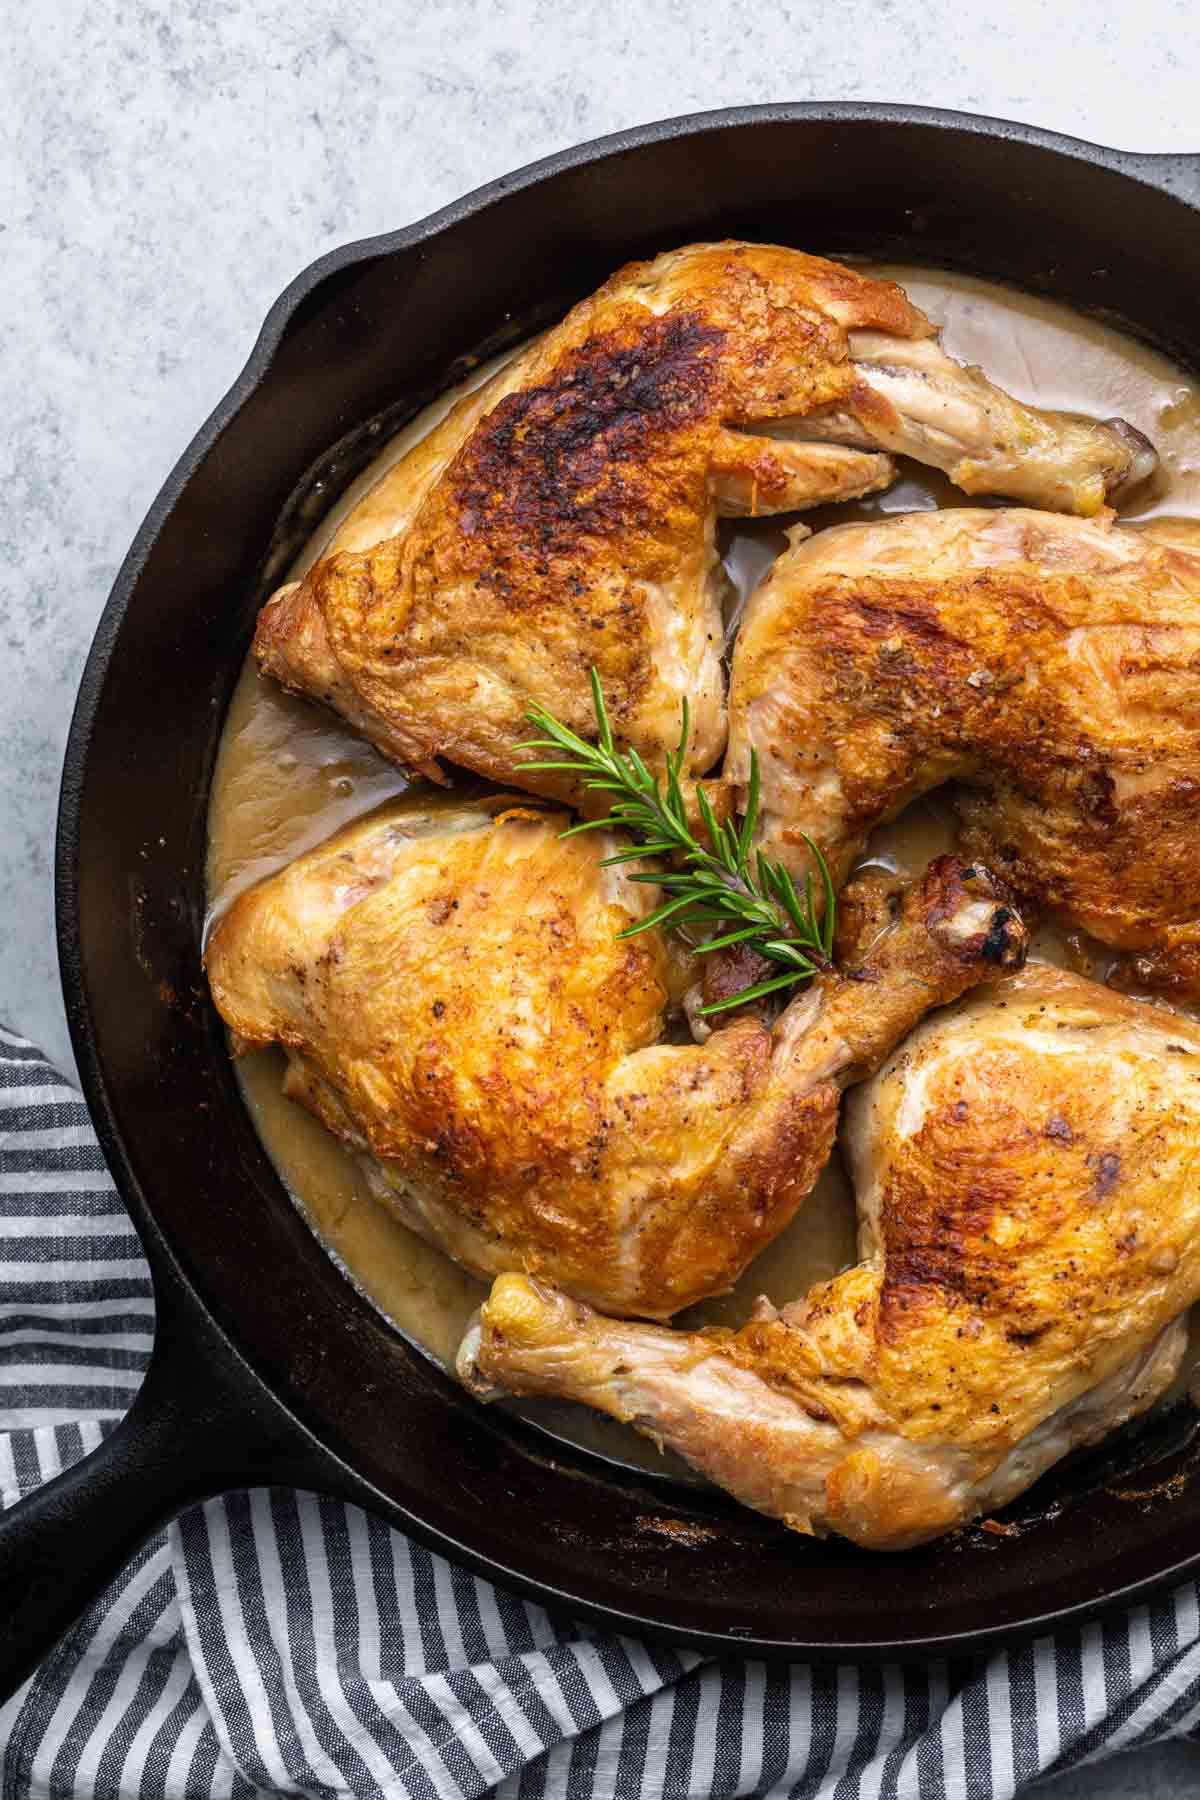

The following is a detailed overview of the recipe steps with added tips and tricks for recipe success. For a simplified and printable version, including ingredient amounts and more formal instructions, see the recipe card below.
How to cook chicken legs in the oven
Prep. Heat your skillet medium-high, and season the chicken liberally with salt and pepper (don’t hold back here, salt is important). If you aren’t using a non-stick or cast iron, make sure you use a bit of oil, but only a little.
Sear the chicken. Place the chicken skin side down in the skillet. Let the chicken cook until it naturally releases from the pan. It will sizzle and spray little bits of oil everywhere, and that’s ok.
After about 5 minutes, check to see if the skin will naturally release. If it does, and the skin is nice and golden brown, flip it.
If the chicken isn’t a pretty golden color, let it sit a bit longer, up to 10 minutes. Then flip and repeat process on the other side.
Deglaze the pan. Remove the chicken legs from the pan. Add the wine and garlic cloves and let them simmer while you scrap the little bits from the sides of the pan.
Bake the chicken. After a minute or so, return the chicken to the pan and transfer it to the oven. Bake for 35 – 45 minutes, or until the chicken has reached 165˚F and the skin is crispy and browned. Remove from oven and allow the chicken to rest for about 5 minutes before serving.

Frequently asked questions
A chicken leg quarter is a full chicken leg that has not been separated into thigh and drumstick pieces and, sometimes, a portion of the back. Occasionally you will see the term chicken leg and chicken leg quarter used interchangeably.
I like to bake my chicken leg quarter for about 45 minutes (depending on their size), even if I spend extra time searing them before putting them in the oven. Since dark meat tends to be fattier, I prefer the extra time for the fat to render.
Chicken leg quarters should be cooked to a safe temperature of 165˚F. I recommend using a meat thermometer to measure the temperature before serving.
Traditionally, braised meats are cooked with liquid in a covered pan or pot. I prefer my chicken to get crispy on top, so I always braise my chicken legs uncovered.
Technically, yes you can over cook your meat when braising, especially since this recipe uses an open braising technique. Fortunately, this type of recipe much more forgiving than traditional baked chicken, and dark meat usually stays tender even when it’s slightly overcooked.

More things to bake in the oven
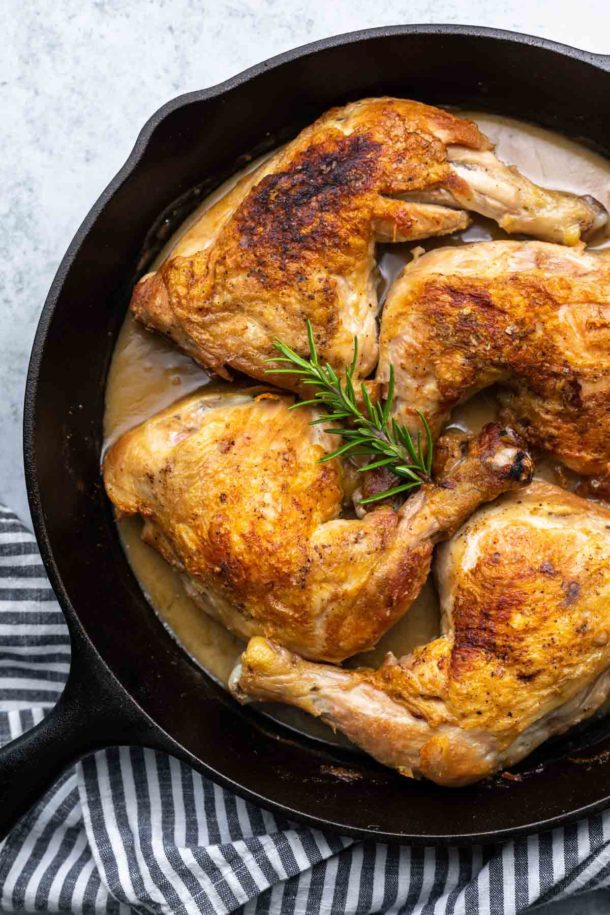
Garlic Braised Chicken Legs
Ingredients
- 4 chicken leg quarters
- Coarse salt & black pepper
- 8 – 10 garlic cloves, smashed
- 1 cup dry white wine*
Instructions
- Preheat oven to 350˚F (180˚C). On the stove, heat a cast iron skillet to medium-high.
- Season chicken legs liberally with coarse salt and black pepper. Sear the chicken on both sides, until the skin is golden in color and easily removes from the pan.
- Remove from pan and set aside. Add the wine and garlic to the skillet. Bring the liquid to a low simmer and deglaze the pan. Return the chicken legs to the pan and transfer to the oven.
- Bake for 35 – 45 minutes, or until chicken has reached an internal temperature of 165˚F. Remove from oven and immediately.
Notes
Nutrition
Nutrition information is automatically calculated, so should only be used as an approximation.
Like this? Leave a comment below!









Whoa.. this actually looks SO good. Must be in the second trimester huh?! Damn! I have to try!
Hahaha. I guess it must be if chicken doesn’t completely disgust you!
Do you cover the chicken? Won’t it dry out otherwise?
What’s the total weight of the chicken legs? I ask because I have five…BIG ONES…
No, I didn’t cover the chicken. I actually didn’t write down the weight of my legs, but I think it was just around 2 pounds for 4 legs. If yours are super big, I would suggest covering for a little bit, maybe 30 minutes, but in order for the skin to get nice and crispy brown, you want them to be exposed to the heat. You may also want to add a little extra time.
awesome recipe! very easy to make & it tastes wonderful!
Quick and easy recipe! Made it for my husband and me and we loved it, so much favor and very tasty👌🏾will be my quick go-to meal👍🏾
so delicious and so simple! loved it! i was wondering if this could be made ahead?
Can I use something else besides the wine? If so, what would you recommend?
Can’t wait to try this. Yummy
I used chicken broth. Just as delicious
Thanks! That looks delicious!
That looks delicious!💕
What do you crisp the chicken with olive oil , butter or cris o
I don’t crisp them in anything. I just let the fat from the chicken skin render in my cast iron. If you’re using a different type of pan, you can add about 1 tablespoon of any fat you want to help prevent it from sticking. But, really any pan should work without it. Let the chicken keep browning until it naturally releases from the pan. That’s how you know when to turn it.
can you add vegetables to this recipe?
It’s totally up to you!