
Why you’ll love these Lucky Charms cookies
We really love St. Patrick’s Day around here. As an Irish-American (dual citizenship to be exact) it’s not hard to get caught up in the festivities, especially when you can use it as an excuse to plan a themed dinner menu or test new authentic Irish recipes.
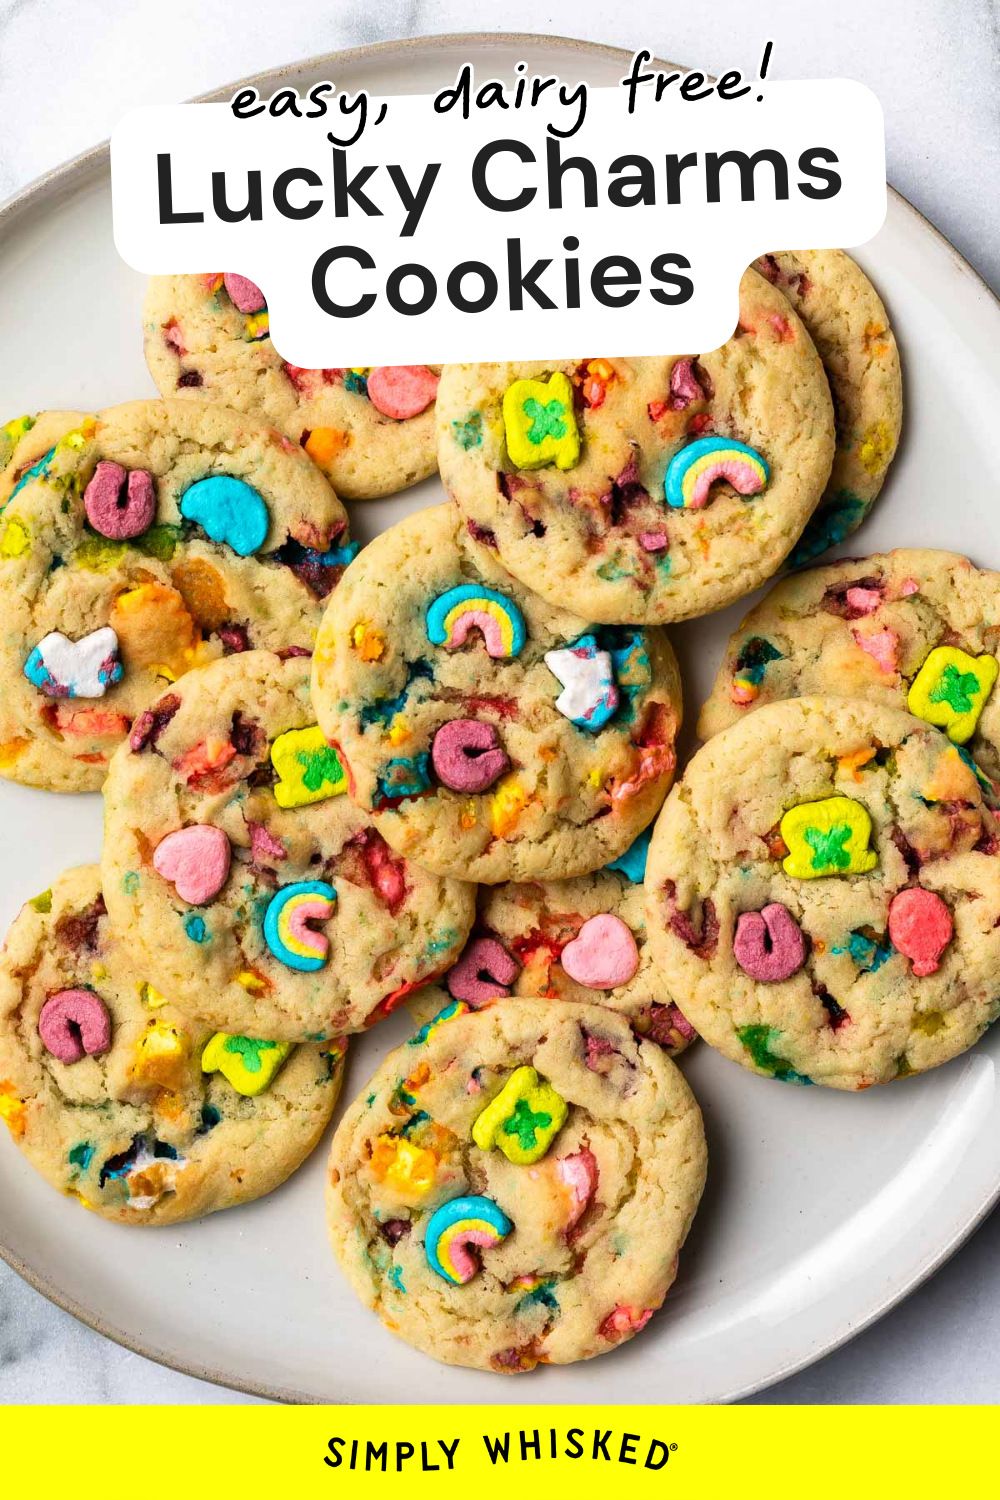
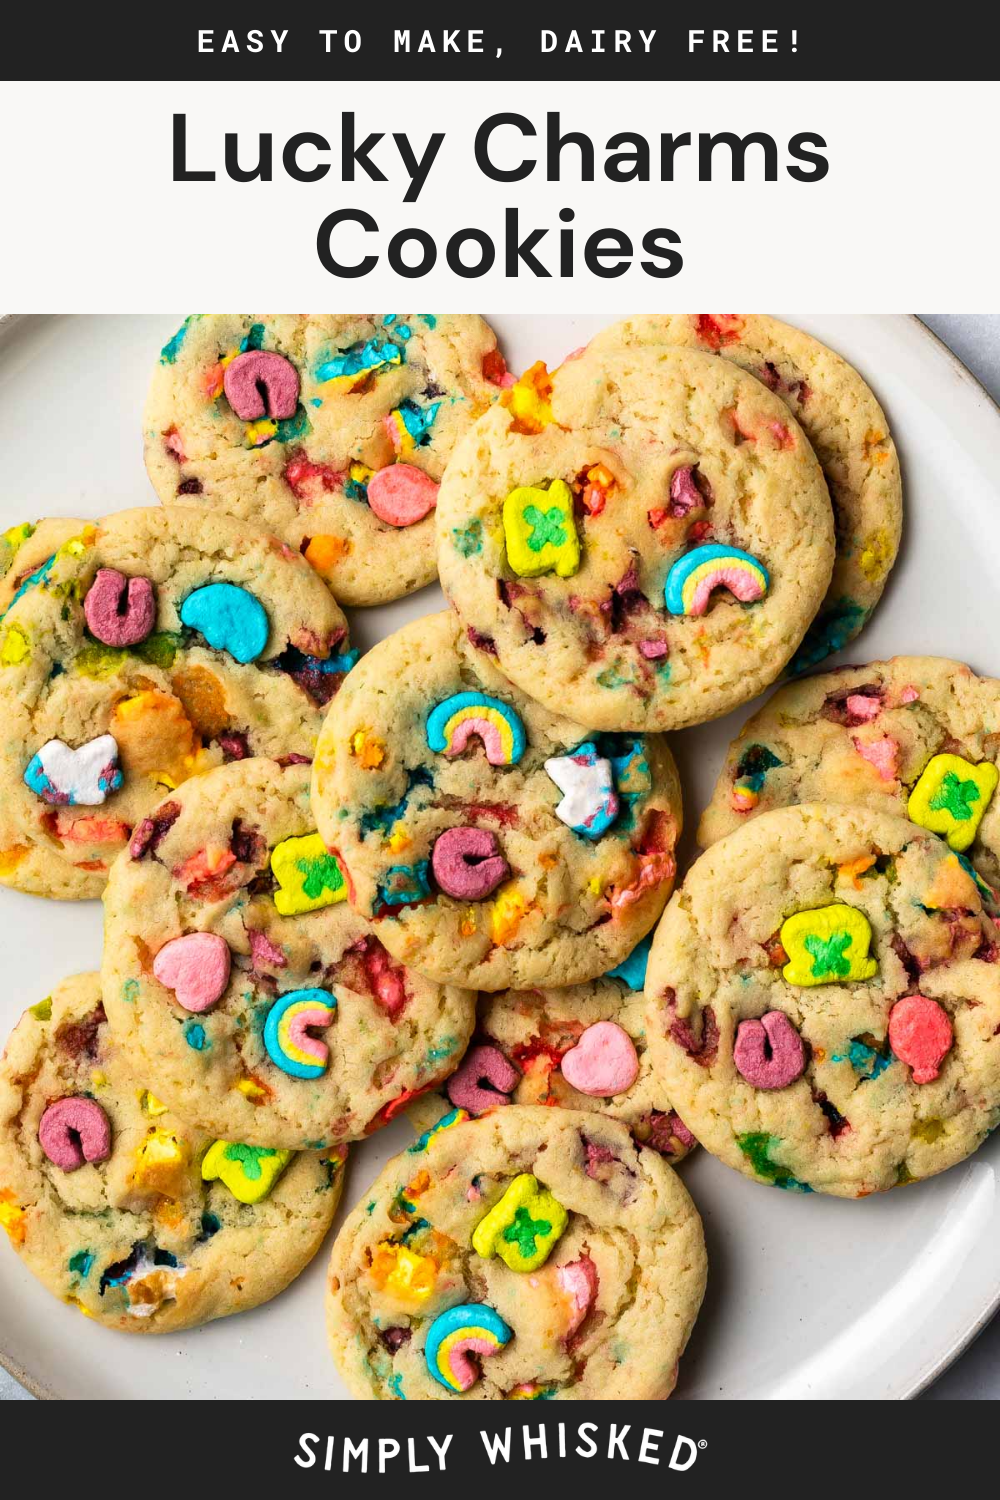
We’ve done everything – from homemade Irish sausage to corned beef and cabbage tacos. Mostly, we try to go for authentic recipes, but this year, I wanted to do something to make the holiday a little more kid friendly, and these Lucky Charms cookies were a huge hit.
I kept the batch small this time, making only about 18 cookies, so you can’t definitely double it if you’re making these for a party. Either way, I know you’ll love them.
More St. Patrick’s Day recipes: Guinness braised beef / Irish shepherd’s pie / Irish potato candy / Irish beef stew

Ingredient notes:
- Lucky Charms marshmallows – You can buy packs of just the marshmallows seasonally, but they can be hard to find — separating them by hand works just fine.
- Dairy free butter – We normally use Earth Balance buttery sticks for baking, but any brand of dairy free butter should work. You can also use dairy butter if that is safe for you.
- Cream of tartar – Gives these cookies their signature soft and chewy texture, but it also helps the cookies rise and spread, so don’t skip it.
Making changes to a recipe can result in recipe failure. Any substitutions listed below are simple changes that I believe will work in this recipe, but results are not guaranteed.

Melissa’s tips + tricks:
- Don’t over bake. The cookies might look under cooked when you take them out of the oven, but that’s exactly what you want. They’ll firm up as they cool and stay perfectly chewy.
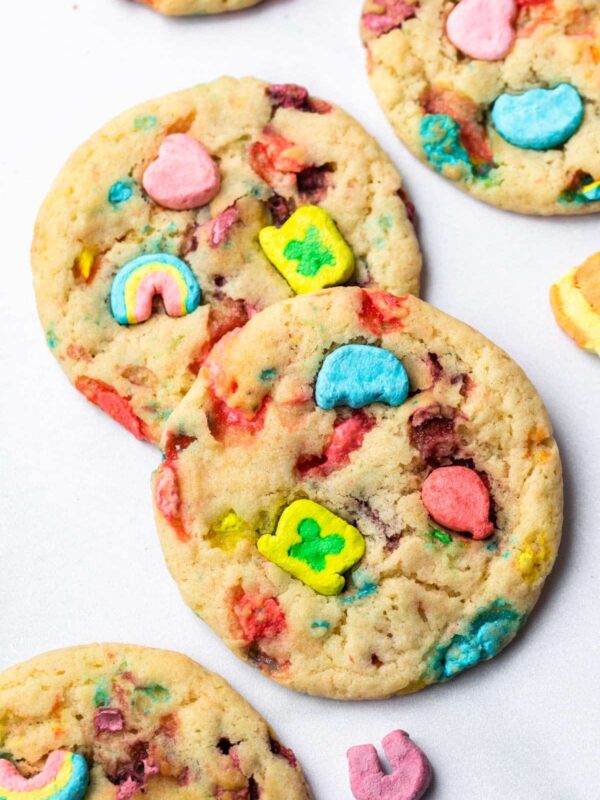
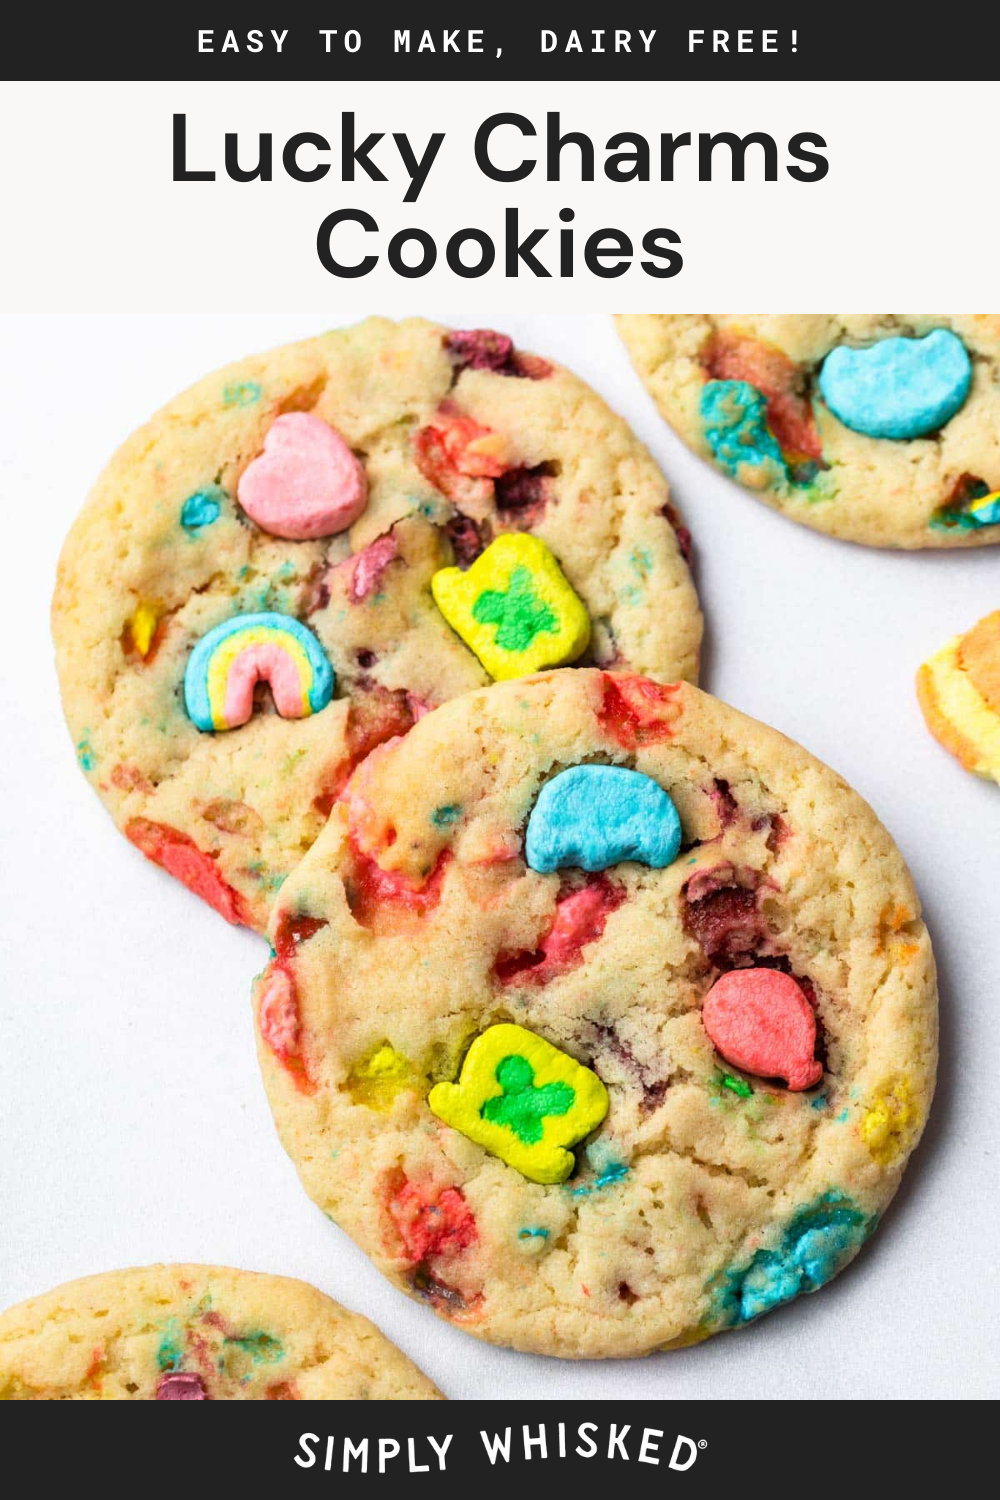
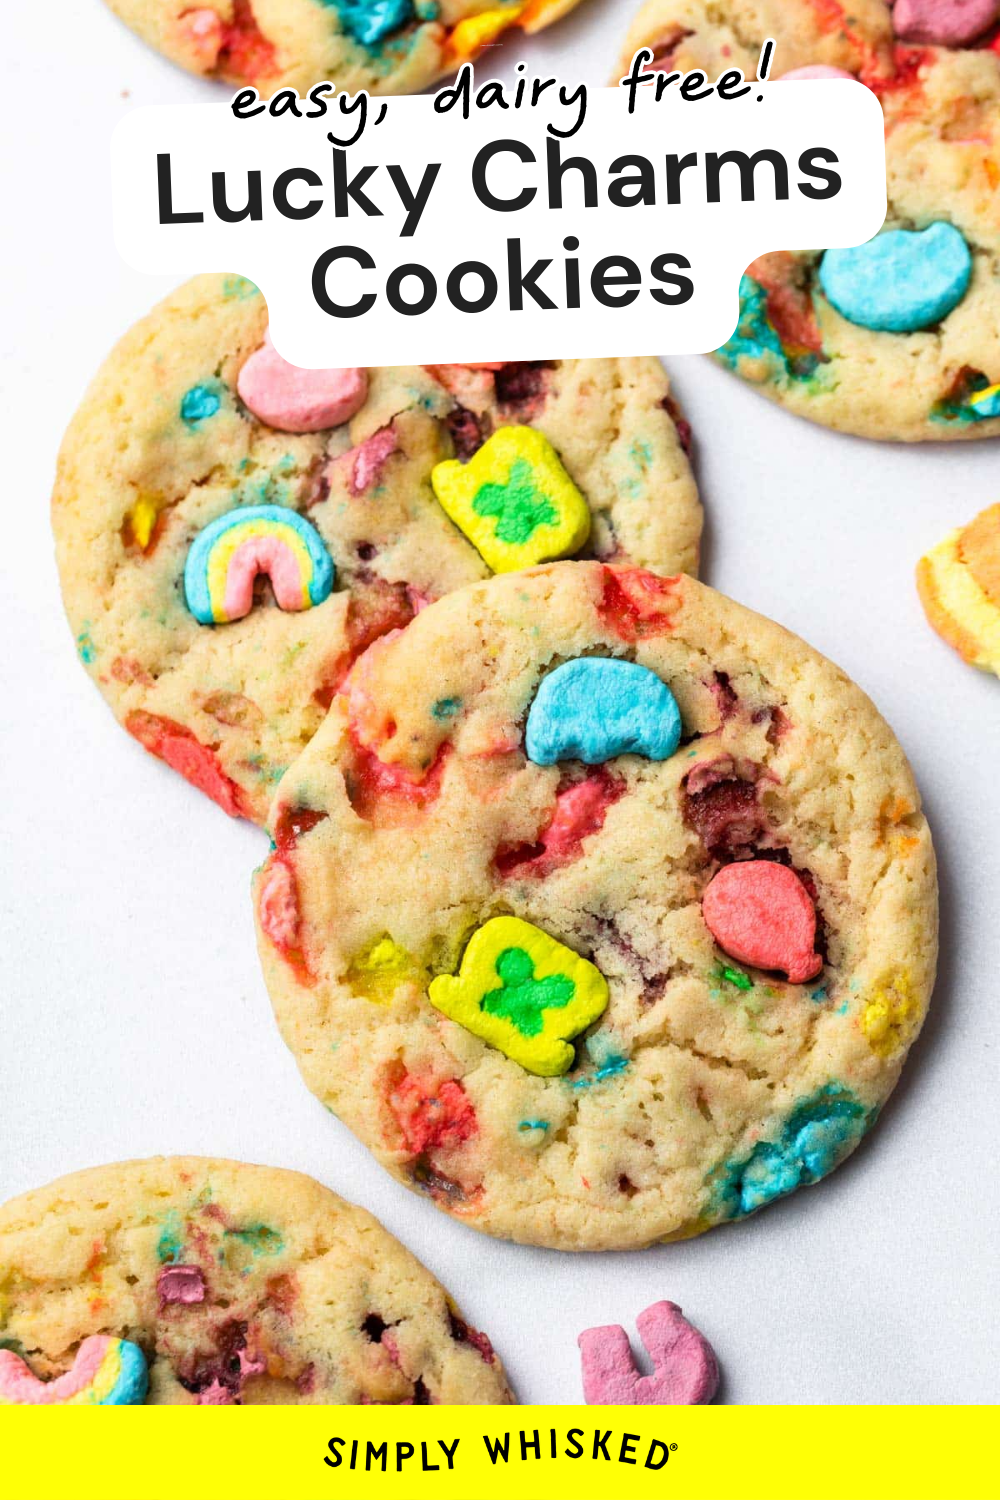
- Decorate the tops! As soon as the cookies come out of the oven, press a few extra marshmallows into the tops to get the prettiest cookies possible. I like to strategically place my extra mallows to add a perfect variety of color on each cookie.

Frequently asked questions
Yes! You can bake the cookies up to 2 days ahead and store them in an airtight container at room temperature. You can also freeze the baked cookies for up to 3 months — just let them thaw at room temperature before serving.
More dairy free cookies: marshmallow stuffed s’mores cookies / black sesame cookies / chewy ginger molasses cookies / lime matcha cookies

Lucky Charms Cookies
Ingredients
- 1 1/4 cups all-purpose flour, 150g
- 1 teaspoon cream of tartar
- 1/2 teaspoon baking soda
- 1/4 teaspoon coarse salt
- 1/2 cup sugar, 100g
- 1/2 cup dairy free butter, 113g, 1 stick
- 1 large egg
- 1 teaspoon vanilla extract
- 1 cup cereal marshmallows + extra for garnish
Instructions
- Mise en place. Preheat oven to 350˚F and line a baking sheet with parchment paper. If needed, separate marshmallows from cereal and measure ingredients before you begin.
- Whisk the dry ingredients. Mix the flour, baking soda, cream of tartar and salt in a medium bowl until everything is evenly distributed. Set it aside for later.
- Mix the wet ingredients. With an electric mixer, beat the vegan butter (or shortening) with the sugar until it's light and fluffy. Then mix in your egg and vanilla extract. Be careful not to over mix or the cookies will be tough.
- Combine the two. Add the flour mixture, a little bit at a time, to the wet ingredients, mixing until a dough forms. Then, gently stir in the marshmallows until they are evenly spread through the dough.
- Bake the cookies. Scoop the cookies onto a prepared baking sheet and bake them for 10 – 12 minutes or until the edges and tops have set. When you take them out, they may look slightly undercooked, but that's what you want.
- Decorate and cool. Remove the cookies from the oven and press a few extra marshmallows into their tops for extra decoration. Then, let them rest on the cookie sheet for a few minutes before transferring them to a cooling rack.
Nutrition
Nutrition information is automatically calculated, so should only be used as an approximation.
Like this? Leave a comment below!


Hello! I dont have cream of tartar avalible. What can I do?
This isn’t vegan.
I know! It’s just dairy free. Some of my recipes are but not all.
There’s a place called “it’s sugar” that sells boxes of just the marshmallows all year round. 😉 I’m sorry and you’re welcome
Hahahahaha. That’s great to know! Thanks you!
Do you recommend chilling the dough 10-15 minutes before baking? I know many cookie recipes recommend doing so.
I think you missed the step where you add the flour mixture. While I may know when to add it, someone else may not! Trying this recipe right not! Can’t wait to taste them. My daughter is obsessed with my lucky charm forever cookies. Hoping she likes these as well!
You’re right, but the correct instructions are in the post text. I will be sure to update the recipe card ASAP! Thanks for noticing!