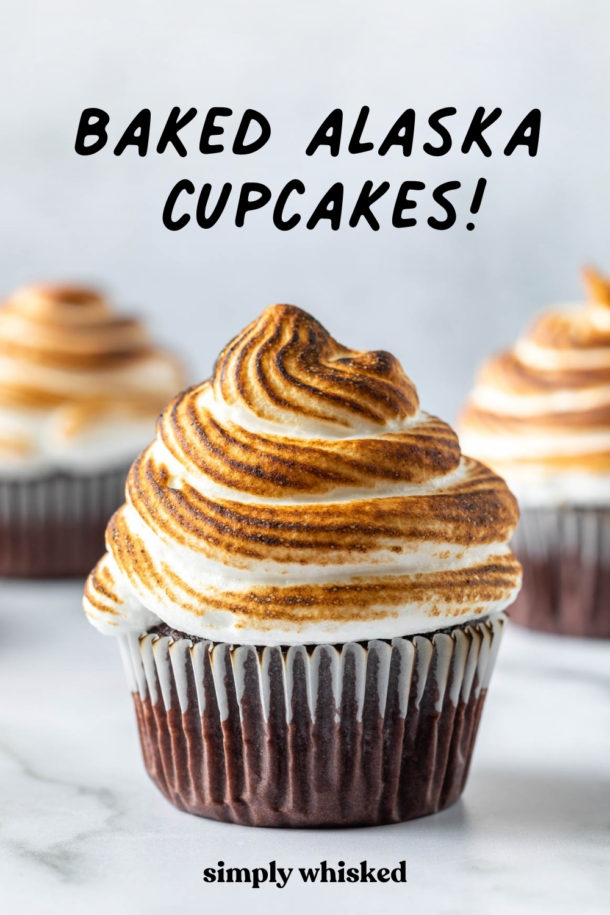

Why you’ll love this baked Alaska recipe
With everything that’s going on in the world right now, we have no clue what the holidays will look like this year. The one thing I do know is that I want to make them special for our family, which means, making something extra-special for dessert.
These baked Alaska cupcakes are perfect because they’re a little bit fancier than what I would normally make for the holidays. Which means they take a little more effort, but that effort is totally worth it.
They’re a beautiful dessert, and the kids will never expect to find ice cream in their cupcakes. Plus, the recipe only makes 6 cupcakes, which is especially perfect for this crazy year.
→ If you like this recipe, you should try these: hot fudge sauce / frozen hot chocolate / blue moon ice cream / dairy free caramel sauce
What is baked Alaska?
Baked Alaska is a dessert that consists of cake topped with ice cream, then the whole thing is covered in meringue. It is traditionally broiled in the oven to toast the meringue, which is where it gets the ‘baked’ part of its name.
To make ours dairy free, I used Hudsonville Ice Cream’s dairy free cherry fudge flavor, but they are sadly no longer making it. So feel free to use whatever dairy free ice cream you prefer.

Can I make these ahead of time?
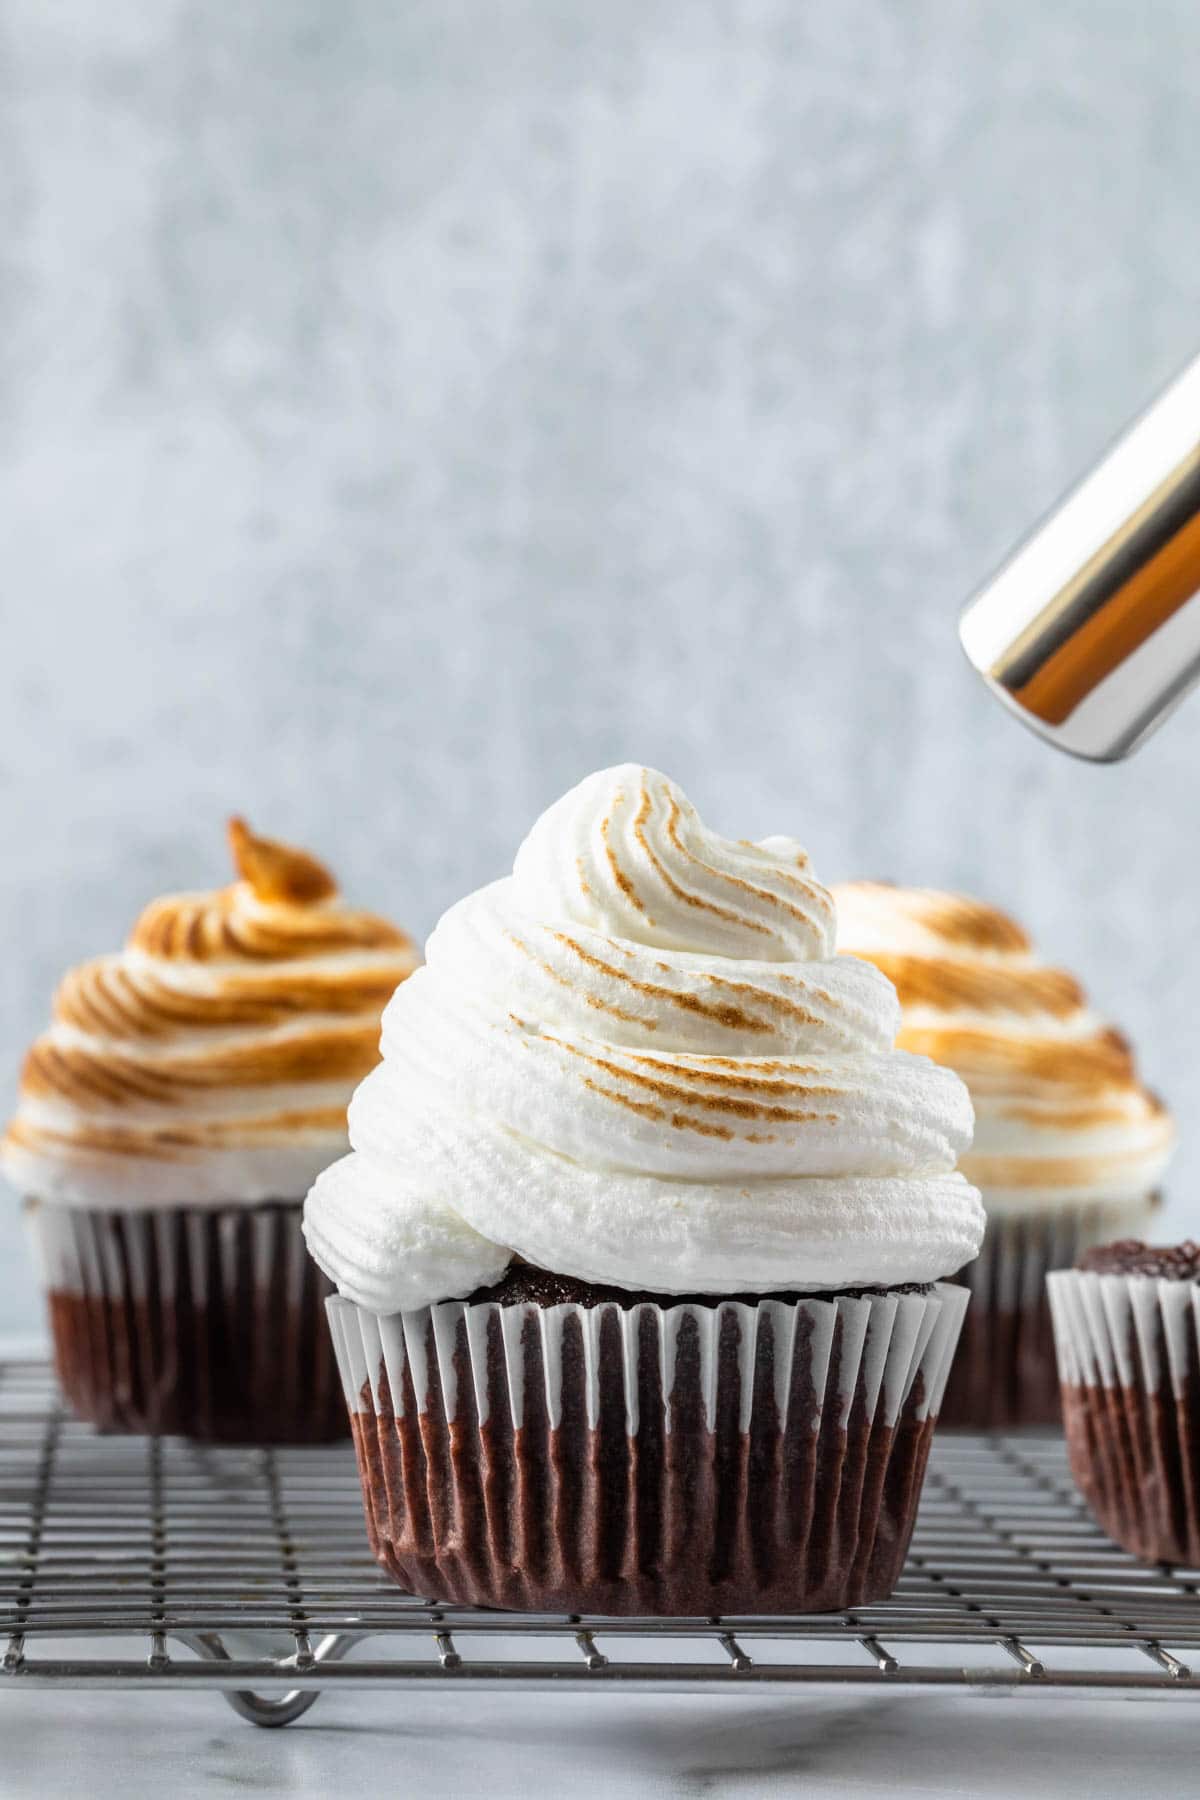
Yes, but I would recommend making everything in advance and assembling the cupcakes ahead of time. Hold off on adding the meringue and toasting though. Do this right before serving.
The meringue can be prepared ahead of time and stored in a pastry bag or air tight container. If needed, you can refreeze the baked Alaskas once the meringue is toasted.

Frequently asked questions
You’ll want to serve baked Alaska right after toasting the meringue, or freeze the finished dessert (or leftovers) for up to 1 month.
Since the meringue won’t freeze solid, you will want to make sure the baked Alaska has a decent amount of space to prevent the meringue from being crushed.
As long as the ice cream is properly frozen, the meringue topping acts as an insulator and slows down the melting process when the meringue is baked or toasted.

More dairy free desserts

Baked Alaska Cupcakes
Ingredients
For the cupcakes:
- 1/2 cup all-purpose flour
- 2 tablespoon dark cocoa powder
- 3/4 teaspoon baking powder
- 1/8 teaspoon coarse salt
- 3 tablespoons canola oil
- 1/4 cup dairy free milk
- 6 tablespoons sugar
- 1 egg
- 1/2 teaspoon vanilla extract
- 1 pint dairy free ice cream
For the meringue:
- 2 egg whites, room temperature
- 1/2 cup sugar
- 1/4 teaspoon cream of tartar
Instructions
- Mix the cake batter. Preheat oven to 350˚F and line a muffin pan with 6 paper liners.In a large mixing bowl, whisk the flour, cocoa powder, baking powder and salt together. Stir to combine.Then, add the oil, milk, egg and vanilla extract. Whisk until the mixture is lump free and evenly mixed.
- Bake the cupcakes. Divide the batter between the prepared liners, about halfway full. Bake the cupcakes for 18 – 20 minutes, or until an inserted toothpick comes out clean.Then, remove from oven and allow cupcakes to cool for about 5 minutes before transferring to a cooling rack.When the cupcakes have cooled, cut off the tops of the cupcakes to create a flat surface, leaving a little bit of space between the top and the cupcake liner.
- Make the meringue. In a double boiler or a heatproof glass bowl over a saucepan with about 1" of boiling water, combine egg whites, sugar and cream of tartar. Then, using a thermometer to monitor temperature, heat to 160˚F, stirring constantly to prevent sticking.Transfer the heated egg white mixture to a bowl of an electric mixer and beat the egg white mixture at a high speed for about 5 minutes, or until soft peaks have formed.If the meringue hasn't cooled completely, let it cool to room temperature, and then transfer it to a piping bag.
- Assemble the cupcakes. Top each cupcake with a scoop of dairy free ice cream, leaving a little space between the scoop of ice cream and the edge of the cupcake to accomodate the meringue topping.Place the cupcakes with ice cream back in the freezer to make sure the scoops are extra cold and frozen before topping with meringue.
- Toast the meringue. Pipe or spoon the meringue onto the cupcakes, being sure to cover the ice cream completely.Then, toast the meringue with a kitchen torch until browned. Alternatively, you can broil at 450˚F for about 4 minutes.
Notes
Nutrition
Nutrition information is automatically calculated, so should only be used as an approximation.
Like this? Leave a comment below!